 |
 |
 |
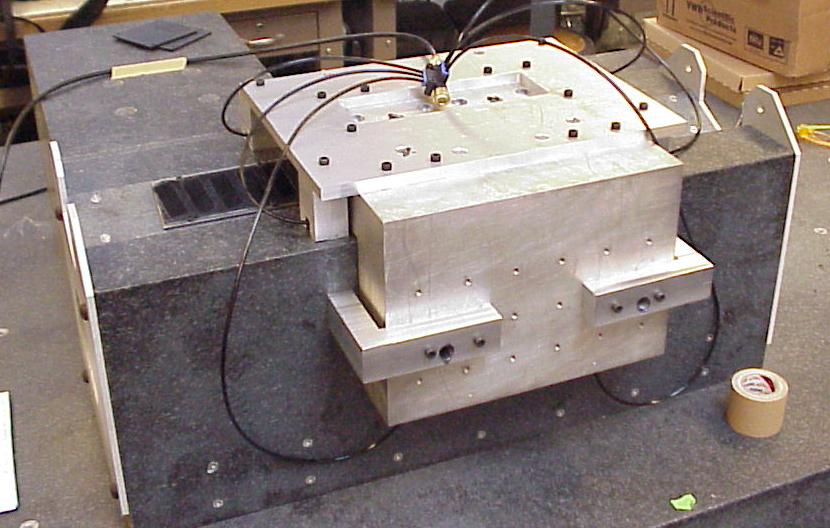
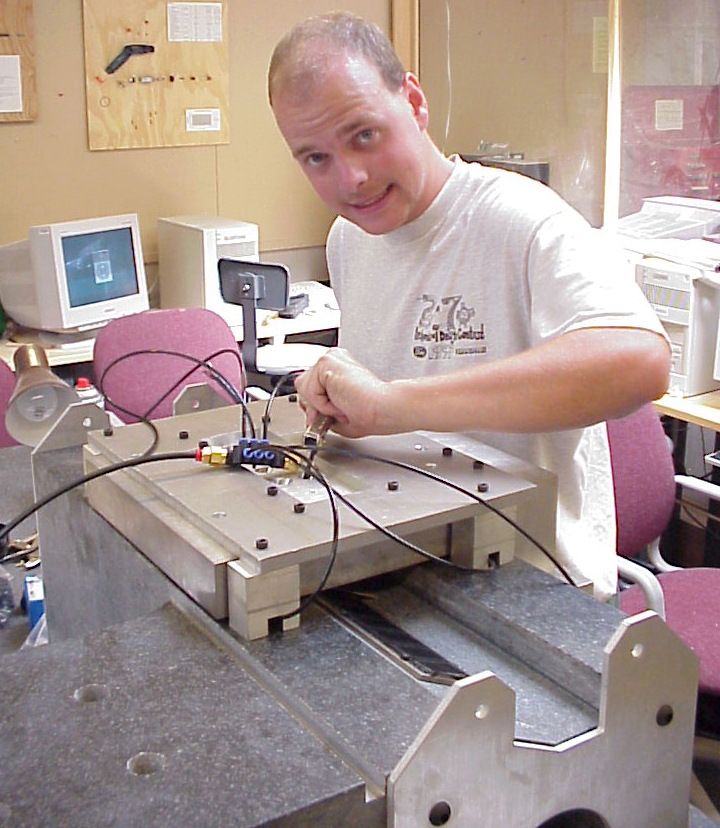
| Step 1: Drew cleaning the Axtrusion way | Step 2: the rough placement of the top bearings on the way | Step 3: The carriage is lower in place and the top bearings positioned correctly. Then a vacuum is drawn through the top bearings to hold them in place. |
 |
 |
 |
| Step 4: Drew degreasing the surfaces of the bearing that the epoxy will bond to. | Step 5: Place side bearings in carriage | Step 6: The carriage (w/ side bearings in place) is lowered back on to the top bearings and the way. Fine adjustments are made in position of the side bearings within the carriage. Then a vacuum is drawn through the side bearings to secure them to the way. |
 |
 |
 |
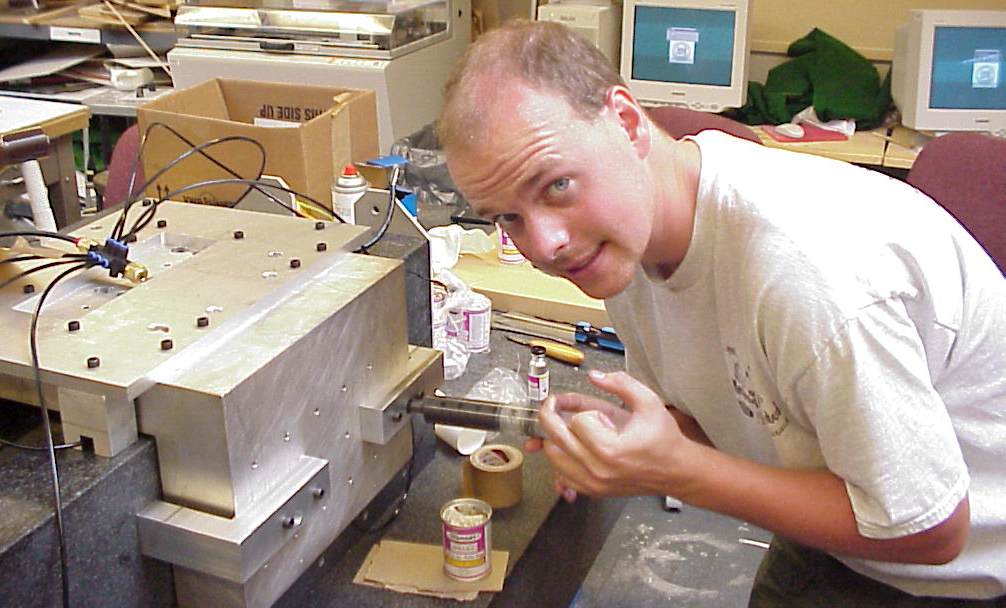
| Step 7: A piece of cardboard that is the correct thickness to set the air gap between the motor coil and magnet track is placed between the two. | Step 8: Our hero (me) lowers the motor coil down onto the cardboard space to set the correct air gap and place the carriage under the its actual loading condition | Step 9: Now a batch of epoxy is mixed up to hold the bearings in place |
 |
 |
 |
| Step 10: Drew injects the epoxy into the side bearing pockets. | Roger continues to inject epoxy into the side pockets. | Drew inject epoxy into one of the top bearing pockets. |
 |
 |
 |
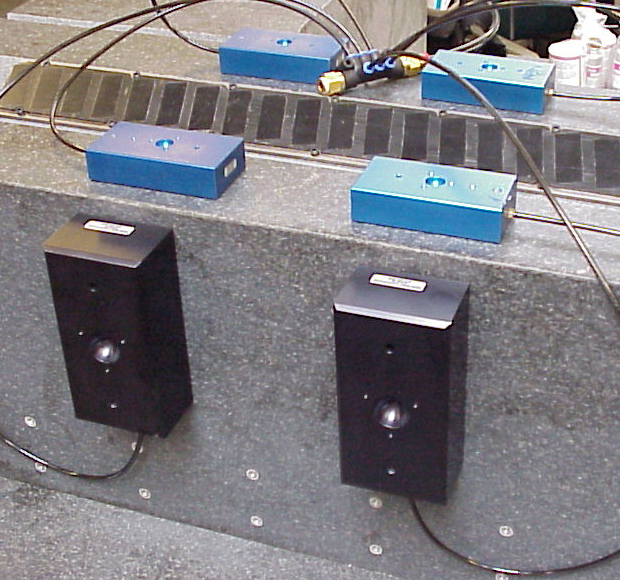
| The six (6) Newway Bearings used in the Axtrusion carriage. Four (4) 50 x 100mm and two (2) 75 x 150 mm. | Look Mom!!! No Hands!!! The bearings can be locked in place on the way by drawing a vacuum through them. This ensures that they are accurately aligned with the way. |
|
 |
 |
|
| The semi-fluid viscosity epoxy was used so that it would not make a huge mess when injected into the bearings and motor pockets. | Look at that cool epoxy on the carriage (subliminal message, buy Moglice buy Moglice... you are getting sleepy etc. etc.) | Drew posing with his way cool bearings |